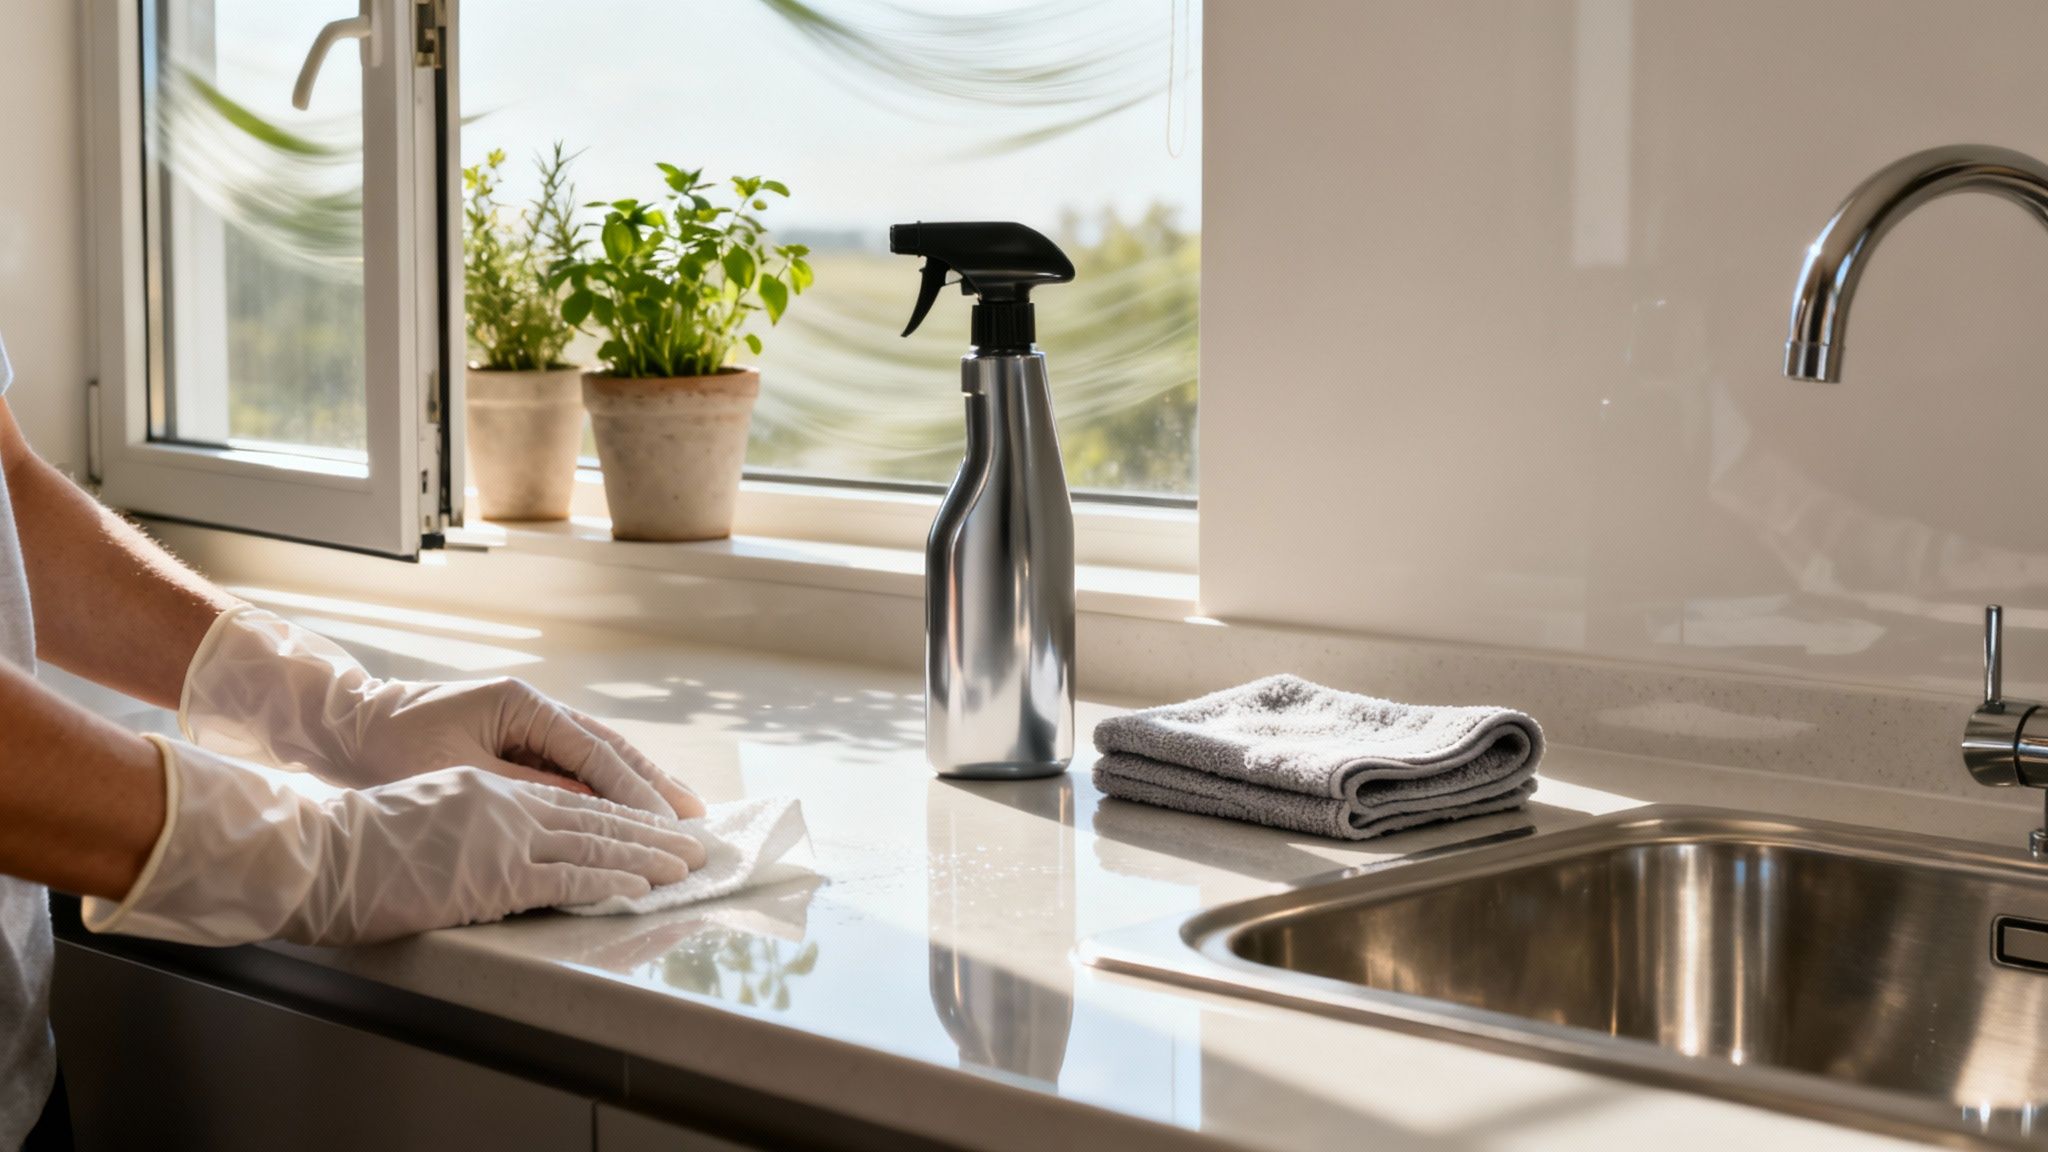
Before you grab that disinfectant spray, let's get one thing straight: cleaning is not the same as disinfecting. It's a common mistake, but mixing them up can leave dangerous viruses and bacteria, from Influenza A (H1N1) to Norovirus, lingering on surfaces you thought were safe.
To truly eliminate harmful pathogens, it’s always a two-step dance. First, you clean to get rid of the visible dirt and grime. Then, and only then, do you apply an EPA-registered disinfectant to actually kill the viruses and bacteria.
Why Cleaning Is Not Disinfecting

Think of it this way: you can't paint a dirty wall. The paint won't stick, and the result will be patchy. The same logic applies to germs.
Cleaning is all about the physical act of removing dirt, dust, and crumbs. You’re using soap, water, and a bit of elbow grease to clear the field. While you might wipe away some germs in the process, the main goal is to get rid of the gunk that germs love to hide in and feed on.
Disinfecting, on the other hand, is the chemical warfare step. It’s designed to kill the microscopic organisms that make us sick, like Human Coronavirus or Hepatitis B Virus (HBV). But here's the catch—it only works on a surface that's already been cleaned. If you spray disinfectant on a dirty countertop, you're just spraying it on top of a layer of grime, and the chemicals can't reach the viruses underneath.
The Two-Step Process For A Safer Home
For your home to be truly hygienic, this two-step approach is non-negotiable. First, clean the surface thoroughly. Once it's clean and dry, you can apply your disinfectant. This ensures the chemical can make direct contact with the pathogens it's meant to kill.
This distinction is critical in everyday life:
- Kitchen Counter: Wiping up crumbs is just cleaning. After handling raw chicken, you need to first clean the counter with soap and water, then use a disinfectant to eliminate potential Salmonella.
- Doorknobs and Light Switches: A quick dusting is cleaning. To stop the spread of viruses like Rhinovirus Type 14 (the common cold), you need to disinfect these high-touch points, especially if someone at home is sick.
Understanding this method is the foundation of a solid home disinfection plan. It also helps to know the difference between deep cleaning versus regular cleaning as part of your overall strategy.
Sanitizing vs. Disinfecting: The Key Differences
To make things even clearer, let's talk about "sanitizing." You'll see this word on a lot of products. Sanitizing reduces the number of germs to a level considered safe by public health standards. Disinfecting is a step above, killing a much broader range of nasty microorganisms.
We dive deeper into this in our guide explaining what is the difference between sanitizing and cleaning: https://virusfaq.com/2025/10/02/what-is-the-difference-between-sanitizing-and-cleaning/
To help you decide what you need to do and when, here’s a quick breakdown.
Cleaning vs. Sanitizing vs. Disinfecting at a Glance
Use this quick reference table to decide which action is right for the job, based on what it does and when you should use it.
| Action | What It Does | Primary Tool | When To Use It |
|---|---|---|---|
| Cleaning | Removes visible dirt, dust, and grime. | Soap, water, all-purpose cleaner. | Daily tasks, preparing surfaces for disinfection. |
| Sanitizing | Reduces bacteria to a safe level. | Sanitizing spray or wipes. | Food-contact surfaces, children’s toys. |
| Disinfecting | Kills viruses, bacteria, and fungi. | EPA-registered disinfectant. | High-touch areas, after someone's been sick. |
This table makes it easy to see that each action has a specific purpose. You clean your floors daily, sanitize the high chair tray, and disinfect the bathroom faucet when a virus like Influenza A2/305/57 Virus (H2N2) is going around.
The takeaway is simple: Always clean first, then disinfect. Skipping the first step significantly reduces the effectiveness of your disinfectant, leaving your home and family vulnerable to illness-causing pathogens.
It seems more and more people are catching on. The global market for disinfectants hit about USD 10.43 billion in 2025 and is expected to climb to USD 17.09 billion by 2032. This shows a real shift in how we all think about hygiene at home—and a growing understanding that proper disinfection is a key part of keeping our living spaces healthy.
Picking the Right Disinfection Tools
Walking down the cleaning aisle can feel overwhelming. With so many bottles shouting promises from the shelves, how do you know which one actually works against the germs you’re fighting? The truth is, effective disinfection starts with picking the right tools for the job.
The secret isn't the brand name—it's the active ingredients. These are the chemical compounds that do the heavy lifting of killing viruses and bacteria. When you turn a product over and read the fine print, you're looking for specific names that are proven to be effective.
For instance, many products rely on quaternary ammonium compounds (often called "quats" or listed as benzalkonium chloride). These are the workhorses of the disinfection world, effective against a wide range of pathogens, including many enveloped viruses like SARS-Related Coronavirus 2 (SARS-CoV-2) and Human Immunodeficiency Virus Type 1 (HIV-1).
Another common and powerful active ingredient is hydrogen peroxide. When used in the right concentration, it breaks down into water and oxygen, making it a popular choice for those wanting effective disinfection without harsh chemical residues. It's particularly useful against stubborn, non-enveloped viruses like Rhinovirus Type 39, a cause of the common cold.
The Overlooked Secret: Dwell Time
Here’s the single most overlooked step in home disinfection: dwell time. Also known as contact time, this is how long a disinfectant needs to stay visibly wet on a surface to kill the germs listed on its label. If you spray and immediately wipe, you're really just cleaning, not disinfecting.
The dwell time is printed right on the product label and can range from 30 seconds to 10 minutes or more.
Think of it like this: The disinfectant is in a battle with the germs. It needs time on the battlefield to win. Wiping it away too soon is like pulling your troops from the front line before the fight is over.
This is where the format of your disinfectant really matters. Sprays are great for covering large areas, but you have to be disciplined enough to let them sit without drying. Forgetting to re-apply can mean the surface never actually gets disinfected.
Sprays vs. Wipes: The Convenience Factor
When it comes to high-touch surfaces like doorknobs, light switches, and faucets, disinfecting wipes have a clear advantage. They basically solve the dwell time problem by design.
Because they come pre-moistened, wipes deliver the disinfectant and keep the surface wet in one simple step. This controlled application makes it far easier to ensure the surface stays wet for the required contact time, which is what actually kills the germs.
This convenience is a game-changer for daily routines. Wiping down a remote control or a kitchen faucet with a wipe is quick and ensures you're actually disinfecting. For a deeper look at different options, check out our detailed guide on choosing the right disinfectant solution for your needs.
So which one should you choose? Here’s a quick breakdown.
| Feature | Disinfectant Sprays | Disinfectant Wipes |
|---|---|---|
| Best For | Large, flat surfaces like countertops and tables. | High-touch, irregular surfaces like faucets and remotes. |
| Dwell Time | Requires you to monitor and re-apply if it dries. | Easier to maintain wetness for the required contact time. |
| Convenience | Less portable; requires a separate cloth. | Highly portable and all-in-one for quick cleanups. |
| Cross-Contamination | Risk of spreading germs if using the same cloth. | Lower risk; designed for single-area use before disposal. |
Ultimately, a smart strategy is to have both on hand. Use sprays for broad areas where you can easily control the application, and grab a disinfecting wipe for those frequent, targeted touch-ups that stop the spread of viruses like Human Rotavirus or Norovirus in their tracks.
Your Room-by-Room Disinfection Playbook
Knowing the theory is one thing, but having a practical game plan is what actually keeps your home safe. A methodical, room-by-room approach ensures you cover all the bases—especially the germ hotspots that are so easy to overlook when you're in a hurry. Just wiping down the most obvious surfaces won't cut it.
Let's walk through the hands-on process, moving through the key areas of your house to target the surfaces where viruses and bacteria really love to hang out. We'll focus on what to disinfect, the right way to do it, and why some common habits might be doing more harm than good.
This simple visual breaks down the core steps for truly effective disinfection. It's all about choosing the right tool for the job and giving it the time it needs to work.

The main takeaway? Disinfection is an intentional process, not a quick swipe. It demands the right product, a quick glance at the label, and a little bit of patience.
Tackling the Kitchen
The kitchen is the heart of the home, but it's also ground zero for cross-contamination. This is where viruses like Norovirus (Norwalk Virus) can spread in the blink of an eye from contaminated food or surfaces. Your strategy here needs to be airtight.
Think beyond the countertops. While they're obviously important, consider every single thing your hands touch while you're making a meal. I'm talking about cabinet handles, the refrigerator and microwave doors, sink faucets, and even the trash can lid. These are all high-traffic zones for germs.
A classic mistake is using the same sponge or cloth to clean everything, which often just smears germs from one spot to another. A much smarter method is to use disinfecting wipes. You can tackle one area, toss the wipe, and move on, completely sidestepping cross-contamination.
Your Kitchen Disinfection Checklist:
- Appliance Handles: Grab a fresh wipe for the refrigerator, oven, dishwasher, and microwave handles.
- Sink Area: After doing dishes—especially if you've handled raw meat—disinfect the faucet handles, sink basin, and drain area.
- Countertops: Clean them first with soap and water. Then, go back with a disinfectant spray or several wipes to cover the whole surface, making sure to let it sit for the required dwell time.
- Small Items: Don't forget the little things! The salt and pepper shakers, coffee pot handle, and utensil drawer pulls need love, too.
Conquering the Bathroom
Bathrooms are a unique challenge because you have a high concentration of different germs all packed into a small space. This is where pathogens like Human Rotavirus, a tough non-enveloped virus, can linger. The goal is simple: disinfect everything thoroughly without spreading germs from the toilet to other surfaces.
The biggest mistake you can make is using one disinfecting wipe for the entire bathroom. Using the same wipe on the toilet and then on the sink faucet is a recipe for cross-contamination.
Always work from the cleanest areas to the dirtiest. I like to start with the mirrors and countertops, then move to the shower and sink. The toilet is always last. Use separate wipes or cloths for each zone. For the toilet, use one wipe for the handle and lid, and a completely separate one for the seat and rim.
Disinfecting High-Touch Living Areas
Living rooms and bedrooms might seem less risky, but they are absolutely filled with things our hands touch constantly. These are the surfaces that can harbor viruses like Influenza A (H1N1) and Rhinovirus, passing them from one family member to the next before you even realize it.
Just think about your daily routine. What do you touch without even thinking?
- Light switches
- Doorknobs
- Remote controls (for the TV, fans, you name it)
- Laptops and keyboards
- Phones and tablets
- Game controllers
These items get touched by multiple people all day long but are rarely cleaned, making them perfect transfer points for germs. Wiping these down daily with a disinfecting wipe, especially when someone in the house is sick, can dramatically reduce the risk of everyone else getting it. The flexibility of a wipe is perfect for getting into the nooks and crannies of a remote or around a doorknob.
Some of these viruses can hang around for a surprisingly long time. To get a better sense of the risks, you can learn more about how long viruses live on surfaces in our detailed guide. This knowledge really drives home why disinfecting these seemingly innocent items is so important.
Dealing with Soft Surfaces
Hard surfaces are one thing, but what about the couch, curtains, or carpets? You can't exactly wipe them down like a countertop, but they can definitely still harbor germs.
For fabrics, check if your disinfectant is approved for soft surfaces—many sprays are formulated specifically to sanitize upholstery. For things like throw blankets or pillows, your best defense is a regular trip through the laundry on a hot water cycle. Running a vacuum with a HEPA filter over floors and furniture also helps remove tiny particles that germs can cling to.
When someone has been sick, make it a priority to wash their bedding, towels, and clothes separately in the hottest water the fabric can safely handle. It's a simple, highly effective step for knocking out any lingering pathogens and a critical part of a solid plan for how to disinfect your home. This systematic, room-by-room approach turns a daunting chore into a manageable and effective routine.
Handling Sickness and Keeping Pets Safe

Your everyday disinfection routine is one thing, but the game changes when someone in the house gets sick or when you have pets to think about. These situations demand a more targeted approach to stop germs from spreading and to make sure everyone—two-legged or four—stays safe and healthy.
When a Sickness Hits Your Home
The moment a family member comes down with something nasty like the flu or a gastrointestinal virus, your home's high-touch surfaces become potential hotspots. The key is to act fast and stay consistent to break that chain of transmission.
This is the time to ramp up your disinfecting schedule. Think doorknobs, light switches, remote controls, and bathroom faucets. These need to be hit at least daily, maybe even more often. Keeping a container of disinfecting wipes handy makes this much easier—you can quickly grab one and wipe down a surface without the hassle of sprays, effectively targeting viruses like Herpes Simplex Virus 2 (HSV-2).
Create an Isolation Zone
If you have more than one bathroom, try to designate one for the sick person’s exclusive use. It's a simple move, but it dramatically cuts down on the spread of germs like Human Rotavirus, which is incredibly tough and loves to hang out in bathrooms.
Keep their personal items separate, too. That means dishes, glasses, and utensils. Wash them right away in hot, soapy water or, even better, run them through the dishwasher on a sanitize cycle. Don’t let them pile up in the sink where they can cross-contaminate everything else.
Your Sickness Laundry Plan
- Handle with gloves: When you're gathering up bedding, towels, and clothes from the sick room, wear disposable gloves if you can. Hold the bundle away from your body and resist the urge to shake it out—that can send virus particles airborne.
- Wash separately: Keep their laundry in its own load to prevent germs from mingling with the rest of the family’s clothes.
- Turn up the heat: Use the hottest water setting the fabric can handle.
- Dry on high: Tumble dry everything completely on a high heat setting. The dryer’s heat is another powerful tool for killing off any lingering germs.
Beyond the immediate surfaces, don't forget about the air you breathe. It's worth learning about the harmful risks of dirty ducts to your family's health to understand how your home's HVAC system can impact overall wellness.
Disinfecting Safely Around Pets
Our pets are family, but their bodies are much more sensitive to the chemicals we use around the house. A lot of common disinfectants that are harmless to us can be toxic to dogs and cats. Certain animal viruses, like Duck Hepatitis B Virus (DHBV) or Bovine Viral Dihea Virus (BVDV), highlight the unique vulnerabilities in the animal kingdom.
One of the biggest offenders is phenolic compounds. You'll find them in a surprising number of all-purpose cleaners. They can cause serious liver damage in pets, especially cats, who can't metabolize them properly. Always, always read the active ingredients list on your cleaning products.
So, what’s the alternative? Look for products with active ingredients like accelerated hydrogen peroxide or certain quaternary ammonium compounds. These are generally considered safer choices for homes with pets, but you still need to follow the directions to the letter.
The golden rule is to let any disinfected surface dry completely before your pet goes near it. This prevents them from licking up chemical residue or getting it on their paws and then into their mouths.
How to Clean Pet Gear the Right Way
- Food & Water Bowls: The easiest and most effective way is to pop them in the dishwasher on a sanitize cycle. If you’re washing by hand, scrub them with hot, soapy water, rinse well, then let them soak in a mild bleach solution (about one tablespoon of bleach per gallon of water) for a couple of minutes. Rinse them thoroughly again and let them air dry.
- Hard Toys: Plastic and rubber toys can get the same treatment as their food bowls.
- Bedding & Soft Toys: Toss these into the washing machine regularly. Use a pet-safe, fragrance-free detergent and run it on a hot cycle to kill germs.
With these strategies in your back pocket, you can tackle household illnesses and keep your furry friends out of harm's way, making sure your home is a true sanctuary for everyone in it.
The Future of Home Disinfection Technology
While your trusty disinfectant wipes and sprays are still the go-to for everyday messes, the world of home hygiene is getting a serious upgrade. Technologies that were once strictly for hospitals and sterile labs are now finding their way into our homes, giving us smarter ways to tackle germs like Feline Calicivirus and Herpes Simplex Virus 1 (HSV-1).
This isn't about turning your house into a bubble. It's about having better tools for the tricky spots—the things you can't just wipe down. Understanding what's out there can help you decide if these new gadgets are a smart addition to your cleaning arsenal.
Harnessing the Power of UV-C Light
One of the biggest game-changers is UV-C light sanitation. You've probably heard of it; it's the same technology used to sterilize surgical tools. UV-C radiation works by scrambling the genetic material of nasty microbes like viruses and bacteria, stopping them dead in their tracks so they can't replicate.
Today, you can find this power packed into portable UV-C wands and sanitizing boxes made for everyday items. They’re a lifesaver for all the things you can't douse in liquid disinfectant.
- Smartphones and Keys: We touch them constantly, but they hate liquids. A few minutes inside a UV-C box can neutralize whatever they've picked up during the day.
- Electronics: Think about your TV remote, earbuds, or computer mouse. A quick, slow pass with a UV-C wand handles them without any risk of moisture damage.
- Pacifiers and Small Toys: For parents, this is huge. UV-C offers a chemical-free way to zap germs on all those little things that inevitably end up in a baby's mouth.
A word of caution: use these devices exactly as directed. UV-C light is powerful and can be harmful to skin and eyes. Never point it at people or pets, and always follow the manufacturer's safety guide.
The Rise of Electrostatic Sprayers
Another piece of pro-level tech making its way home is the electrostatic sprayer. This is where cleaning gets really clever. The sprayer gives disinfectant droplets a positive electrical charge as they're released. Since most surfaces have a negative charge, the droplets are actively drawn to them, wrapping around objects for true 360-degree coverage.
Think about disinfecting a kitchen chair with a regular spray bottle—you’ll probably just hit the top. An electrostatic sprayer ensures the disinfectant clings to the top, bottom, and even the sides of the legs and armrests, covering all the nooks and crannies you'd otherwise miss.
This kind of thoroughness is a massive leap forward. It's no wonder the global market for disinfection equipment, including UV and electrostatic tech, is projected to jump from around USD 12 million in 2025 to nearly USD 38 million by 2035. If you're curious about the trends driving this growth, you can dig into this detailed report from Future Market Insights.
Got Questions? Let's Get Them Answered.
Even when you feel like you have a handle on cleaning, some questions always seem to pop up. Knowing the right answers can be the difference between just going through the motions and actually keeping your home safe and healthy.
Let's clear up some of the most common things people ask about disinfecting.
How Often Should I Really Be Disinfecting?
This is the big one, and the honest answer is: it depends on your household.
For a home with healthy people, hitting the high-touch surfaces a few times a week is a solid routine. We're talking about the things everyone touches constantly—doorknobs, light switches, faucet handles, and the TV remote.
But you'll need to ramp things up if:
- Someone is sick: If a family member has something contagious like Avian Influenza Virus (H5N1) or a stomach bug, you need to be disinfecting those key spots at least once a day. This is how you break the chain of germs spreading from one person to the next.
- You're in the kitchen: Any surface that touches raw meat, poultry, or fish needs to be disinfected immediately after you're done. This isn't optional—it's crucial for preventing nasty foodborne illnesses.
The point isn't to live in a sterile bubble. It's about being smart and focusing your energy where it counts the most.
Can I Just Use Vinegar or Other "Natural" Cleaners to Disinfect?
Vinegar is a fantastic cleaner for cutting through greasy stovetops or shining up windows. But when it comes to disinfecting, it just doesn't make the cut.
Here's the key difference: Vinegar is not an EPA-registered disinfectant. For a product to legally claim it "disinfects," it has to be proven in a lab to kill 99.9% of specific germs. Vinegar can’t do that.
While it might have some mild antimicrobial properties, it's useless against many of the serious viruses you’re actually worried about, such as Hepatitis C Virus (HCV). When you need to kill pathogens—like after prepping raw chicken or when someone has the flu—you have to reach for a product with an EPA registration number on the label. That number is your proof that it actually works.
Is It Possible to Disinfect Too Much?
Yes, absolutely. In this case, more isn't better. The goal is a hygienically clean home, not a sterile operating room. Going overboard with harsh chemicals can sometimes lead to skin or respiratory irritation.
A balanced approach is always the best way to go. Use plain soap and water for everyday cleaning and wiping up visible dirt. Save the heavy-duty, EPA-registered disinfectants for the important jobs: high-touch surfaces, cleaning up after someone's been sick, and in germ hotspots like the kitchen and bathroom.
What's the Biggest Mistake People Make with Disinfecting Wipes?
This one is simple: using one wipe to clean way too big of an area.
Think of it this way: a disinfecting wipe is only working when it leaves the surface visibly wet. This wetness is what allows the disinfectant to do its job for the required contact time—usually somewhere between 3 and 10 minutes, depending on the brand.
The second that wipe starts to feel dry, it’s not disinfecting anymore. If you keep scrubbing with a semi-dry wipe, you might just be smearing germs from one spot to another. For a large area like a kitchen counter or dining table, you’re almost always going to need two or three fresh wipes to make sure the entire surface stays wet long enough to actually kill anything.
Leave a Reply