Microbial contamination turned up on 76 of 98 used toothbrushes, or 78% of the sample, in a 2020 South African study of brushes people had been using (South African Dental Journal). That number gets quoted constantly. What rarely gets quoted is the sentence that should follow it, which is that a colony count on an agar plate is not a diagnosis.
A brush that carries bacteria is ordinary. A brush that makes someone ill is a much narrower event, and nothing in the disinfection literature has shown that a household soak prevents it. That gap between reducing microbial load and reducing infection risk is where most guidance on how to disinfect a toothbrush goes wrong, and it's where this one starts.
What follows ranks the methods by the quality of the evidence behind them, then takes up the two interventions that do at least as much work as any soak: how the brush dries, and when it gets replaced.
Daily Rinse, Drying and Storage Routine
The step that does the most good takes fifteen seconds and costs nothing. Rinse the brush under running water immediately after brushing, until the toothpaste and debris are gone. Residue left sitting on the bristles is food and moisture in one package, which is exactly what a microbe needs to hold on.
Here's the routine in the order you'd do it, following the sequence the American Dental Association's summary of toothbrush contamination sets out:
- Rinse under running water, immediately. Hold the head under the tap for a few seconds and let the water carry the paste away. No soap, and no scrubbing the bristles against your palm.
- Keep your fingers off the bristles. Squeezing or wiping them with your thumb pushes debris down into the base of the tufts and bends the filaments out of shape, which shortens the brush's useful life. This one is easy to skip when you're in a hurry.
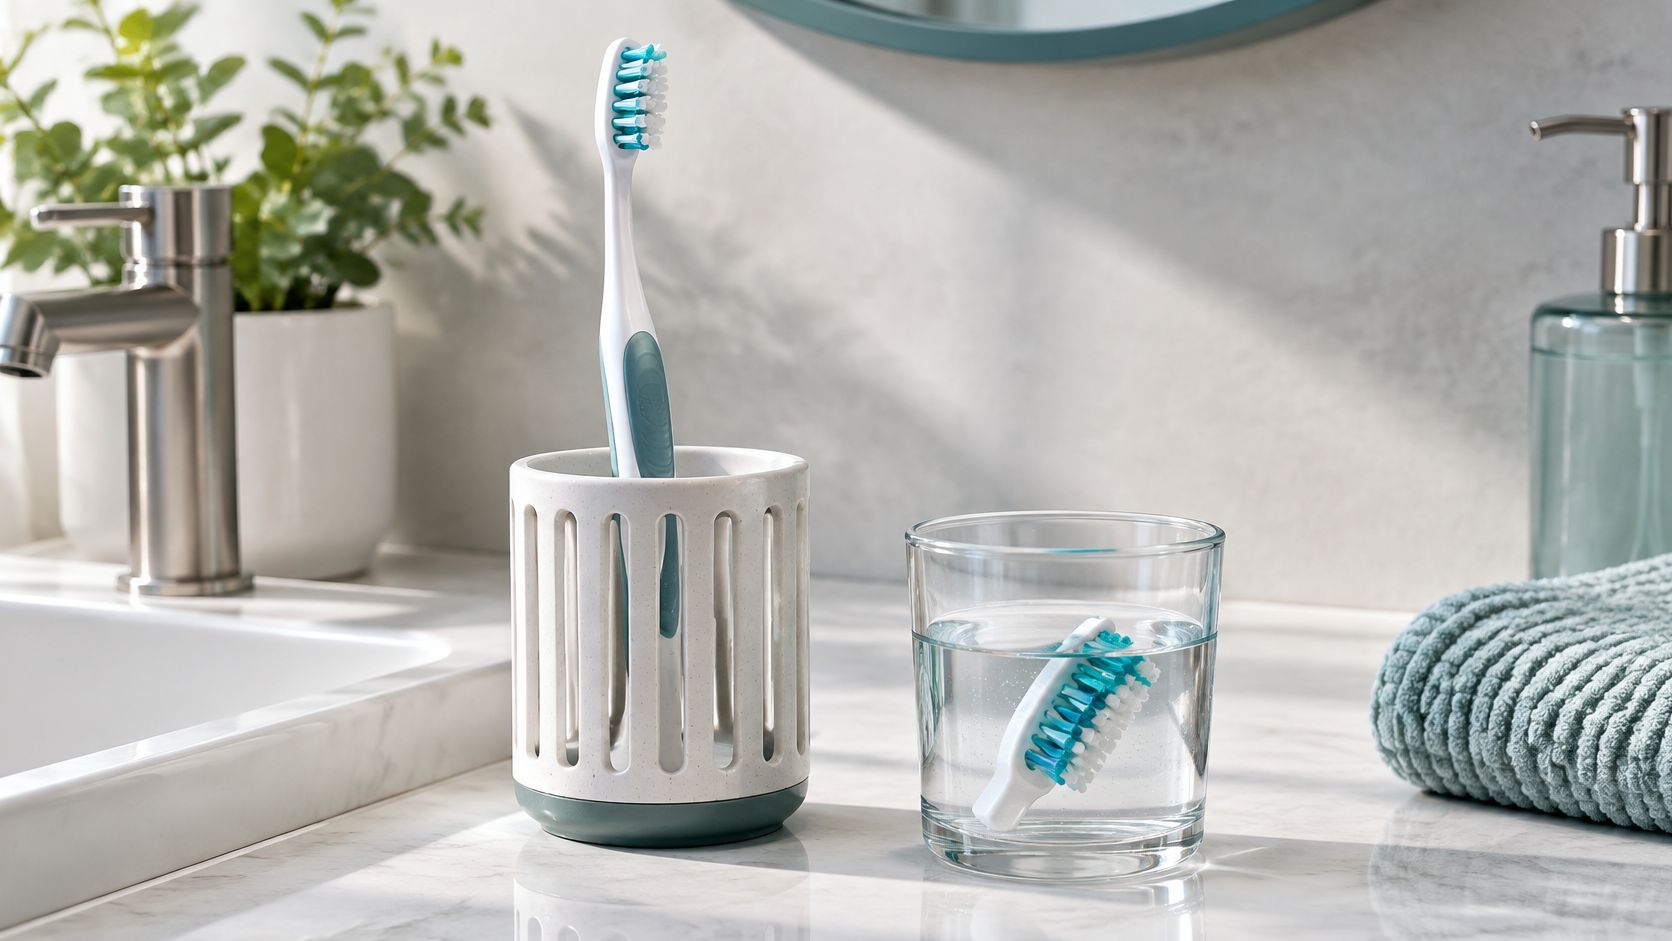
- Shake off the excess and stand it up. Upright in an open, ventilated holder, heads apart so two brushes never touch. Gravity pulls water and saliva down and away from the bristles.
- Let it air-dry completely. Covering a wet brush or keeping it in a closed container holds in the moisture that supports microbial survival and cross-contamination. In a shared bathroom this is the most common mistake, and the easiest to fix.
- Wash the holder too. A cup that catches drips from four brushes is a wet, debris-filled tray. Rinse it weekly and let it dry before the brushes go back.
Four of those steps are worth pinning to the mirror:

Where the brush sits matters more than what you soak it in
A 2025 study found that toothbrush bristles can support survival of organisms including Candida and Enterococcus after exposure to toilet plumes (the published study record). A related observational report found higher levels of several organisms when brushes were kept in bathrooms containing toilets, in humid environments, or alongside other toothbrushes. Nearly every participant said they'd never been given proper professional advice about storage or disinfection.
Closing the lid before you flush cuts the plume off at the source. Moving the holder changes where whatever is left in the air comes down. Neither step proves an infection will follow from a bristle, and it's worth being clear about that: finding an organism on a brush shows a pathway exists, not that anyone got sick through it.
Practical rule: if the bristles are still damp at your next brushing, change the storage spot before you change the disinfectant.
| Storage setup | Contamination risk | Better arrangement |
|---|---|---|
| Closed case while the brush is still wet | High; moisture supports microbial survival | Dry the brush fully before it goes in any case |
| Brush stored near an open toilet | High; toilet plumes can reach the bristles | Move the holder farther away and close the lid |
| Brushes touching in one cup | High; cross-contamination | Separate holders with heads apart |
| Humid bathroom with no airflow | Elevated; slows drying | Open a window or run a fan, or move to a drier spot |
| Upright in an open, ventilated holder, air-dried | Lowest of these setups | Keep it ventilated and dry between uses |
The same maintenance logic applies to the hardware in your mouth. Paul L. Gregory, DDS walks through cleaning dental implants with the same three principles: keep tools separate, dry what you can, and never seal something damp into a case.
Wash your hands before you handle the brush and again afterward, since the handle picks up whatever your hands carry, and proper hand washing technique covers the spots people rush, like thumbs and fingertips.
Then run the only test that matters. Pick up the brush at your next brushing. Dry bristles mean your setup works. Damp bristles mean the holder is in the wrong place, and moving it is a five-second job.
Which Methods Work and How to Soak Safely
On the evidence available, 3% hydrogen peroxide soaked for about 20 minutes is the best-supported occasional treatment for a household brush. It isn't sterilization, and no product below is a proven standard, because the studies disagree with each other nearly as often as they agree.
In the 2020 South African work, contaminated heads were split into four groups and treated with Brushtox, Andolex C, Listerine or water. Brushtox cut the number of contaminated brushes by 90%, Andolex C and Listerine each by 74%, and the water control by 0.0%.
Run the comparison again with a different design and the ranking shifts. A 2022 prospective study concluded that Dettol performed best, followed by Listerine and 0.2% chlorhexidine gluconate, with tap water ineffective (the 2022 treatment comparison). Before disinfection, aerobic bacterial growth appeared on 91.6% of brushes in one group and on 75.84%, 75% and 81.67% in the others. After one-hour treatments it fell to 34.17%, 30.84% and 24.17%, while the comparison group stayed at 74.17%, a difference reported at p = 0.002. The same source describes a controlled study of 50 children aged 8 to 11 in which 3% hydrogen peroxide, Hexidine and Listerine each reached 100% efficacy under its test conditions, Dettol reached 40% and water 0%.
Three studies, three rankings. Formulation, concentration, exposure time and study design all move the answer, which is why no single bottle has earned the title of proven standard.
Soak safely in four steps
- Pour fresh 3% hydrogen peroxide deep enough to cover the brush head. Don't dilute it, and don't reach for the stronger bottle at the back of the cupboard.
- Submerge the head for about 20 minutes. Set a timer rather than guessing, because exposure time is doing part of the work.
- Rinse thoroughly under running water. This is the step that limits how much chemical stays on the bristles.
- Stand it upright and air-dry. Putting it straight back into a closed cabinet undoes the effort.
Listerine works the same way if you'd rather use a mouthwash, and the ADA summarizes the reduction from either peroxide or Listerine at roughly 85%.
Never: mix hydrogen peroxide with other cleaners, reuse the soaking solution, or substitute concentrated peroxide for the 3% product. Replace the brush instead of soaking it if the bristles are frayed, if it has touched blood or other bodily fluids, or if the manufacturer's instructions rule out chemical soaking.
| Method | Reported reduction | Evidence | Household verdict |
|---|---|---|---|
| Water rinse only | 0.0% in the 2020 South African study | Lab test on 98 used brushes | Baseline only; removes debris, not reliable for microbes |
| 3% hydrogen peroxide, about 20 minutes | 87.03% in a 2022 clinical experiment; about 85% per ADA | Clinical experiment with 55 volunteers; ADA summary | Best-supported option for an occasional soak |
| Listerine mouthwash | 74% in the 2020 study; 100% in the 50-child study | Two controlled studies | Usable alternative for an occasional soak |
| 0.2% chlorhexidine gluconate | 58.46% in a clinical experiment | Clinical experiment | Reasonable option, with less supporting data than peroxide |
| Dettol | Ranked best in the 2022 study; 40% in the 50-child study | Two studies with conflicting results | Not a clear default choice |
| Brushtox | 90% in the 2020 study | Specialty product tested in the lab | Not needed for home use |
| UV device | Reduces counts; depends on validated dose | Review and ADA guidance | Only a cleared, validated device |
Ultraviolet cabinets are marketed the hardest, and they're the one entry where the hardware matters more than the habit. How UV light kills brush bacteria depends on a validated dose reaching every bristle surface, which is why an FDA-cleared device is the only kind worth buying.
Exposure time is the variable people skip. The same principle governs every disinfectant in your cupboard, and it's worth understanding what contact time means for disinfectants before trusting a ten-second dunk.
What to Avoid and Why
Every method below fails for one of three reasons. Heat damages the brush, chemicals leave residue, or moisture keeps the microbes alive. Once you know which failure you're looking at, you can judge a new gadget or a home remedy without hunting for a study.
- Microwaving, boiling and dishwashers. The American Dental Association's toothbrush guidance warns that high temperatures can damage the brush. The head and bristles are the parts that fail, and a melted or warped brush cleans worse than a dirty one.
- Bleach, concentrated peroxide and other harsh chemicals. Residue on a bristle goes straight into your mouth at the next brushing. Bristle damage follows close behind.
- Unvalidated ultraviolet devices. UV can reduce counts, but the result depends on wavelength, dose, exposure geometry, and whether every bristle surface gets irradiated. Bristle arrangement and brush design change how much survives.
- Vinegar and improvised home remedies. Some comparative work found reductions with vinegar, but there's no validated standard for concentration or timing, and none of it has been shown to prevent illness. It doesn't earn a place in the routine.
- Reused soaking solution or mixed cleaners. Each addition raises chemical exposure without adding benefit.
- A sealed travel case around a wet brush. This traps moisture and cancels the drying step that does the work.
A comparative experiment did find count reductions with glutaraldehyde, sodium hypochlorite, alcohol, povidone-iodine and chlorhexidine. None of them belongs in a bathroom cabinet: residual chemicals, tissue toxicity, corrosion and flammability are hazards larger than the problem being solved.
The ADA's own material notes that viruses can survive on toothbrushes for 24 hours. That's an argument for replacing a brush after an illness, not for soaking it in something harsher. A method that damages the brush, leaves a residue, or keeps the head wet has already failed, no matter how good its colony count looks in a lab.
When to Replace and Your Weekly Checklist
For most healthy households, the honest answer to whether you should disinfect a toothbrush regularly is no. A systematic review found that ultraviolet light and microwaving reduced microbial counts, while the evidence for chlorhexidine was statistically inconclusive, and it reported very high heterogeneity, meaning results varied substantially between studies (the systematic review record). Earlier work found mouthwash, toothpaste, antiseptics, ultraviolet light and chlorhexidine could all reduce contamination under particular laboratory conditions, but none of it established that routine disinfection prevents viral or bacterial disease.
That isn't a case for abandoning hygiene. It's a case for spending the effort where it changes something: drying, separation and replacement. A household brush is rarely sterile, and "sterilizing" one is an unrealistic claim for any product on a pharmacy shelf.
People with a weakened immune system, an active oral infection, or a job that exposes them to pathogens daily face a different risk calculus. For them the right move is a conversation with their clinician, not a stronger soak.
| Situation | Action | Timing |
|---|---|---|
| Healthy household, routine use | Rinse, air-dry and store upright | Every day |
| Any brush in regular use | Replace the brush | About every 3 months |
| Bristles frayed or splayed | Replace; don't soak | As soon as you notice |
| Brush used during a cold or flu | Replace or switch to a new brush after recovery | After illness |
| Brush touched blood or bodily fluids | Replace; don't attempt decontamination | Immediately |
| Immunocompromised or oral infection | Follow the clinician's advice; replace sooner if advised | As the clinician directs |
Your weekly checklist
- Set a reminder for three months out to replace the brush, and buy the replacement before you need it.
- Check the bristles once a month. Replace at the first sign of splay rather than at the calendar date.
- Make rinse, dry and upright a fixed habit, so it happens without a decision.
- Keep a peroxide soak in reserve for the occasions you want one, and skip it entirely when replacement is already due.
- After a cold or flu moves through the household, swap the brushes rather than trying to clean them back to health.
If you're unsure whether a brush has had it, the signs of a worn toothbrush are easier to spot than expected: splayed outer bristles, a softened head, a darkened base where the tufts meet the handle.
Our education articles are built around practical tips for staying safe, cleaning effectively and recognizing common risks, and a replacement schedule fits that approach better than any product claim does.
Rinsing, drying, separation and replacement are the core. Soaking is a supplement.
Toothbrush Hygiene for Children and Families
Households with children ask about this more than anyone. A 2024 randomized in-vitro study of 40 children aged 6 to 11, published in the International Journal of Clinical Pediatric Dentistry, found that disinfectant use reduced microbial colony counts on toothbrushes by 99.98% after 14 days of use (the pediatric study). That's a striking number, and it measures one thing: colony counts in a small laboratory study. It doesn't show that soaking keeps a child healthier or improves their teeth.
The family routine that does hold up looks like this:
- Give each child a labeled brush and a separate holder. Heads apart, never touching. Children's brushes are short and heads drift together in a shared cup.
- Watch the rinse. Many kids wipe the bristles against their palm or a towel. Running water and a shake is the whole job.
- Store upright and dry, away from the toilet. If the bathroom is small, move the holder to a shelf or a bedroom.
- Replace after a cold or flu. A recovered child goes back to a contaminated brush otherwise.
- If you soak, supervise it. Use the same 3% peroxide or mouthwash approach as for adults, keep the solution out of reach so it can't be swallowed, and rinse the brush thoroughly afterward.
One rule compounds across a family bathroom: a wet brush touching another wet brush passes more than water, which is the mechanism behind cross-contamination in shared spaces and the reason separate holders beat one crowded cup.
For a child with braces, a repaired tooth, or an ongoing oral-health condition, take the storage and replacement questions to a dentist or pediatrician rather than working from a general guide.
Before your next brushing, walk into the bathroom and look at where the holder sits. If it's within arm's reach of the toilet, packed into a cup with everyone else's brush, or shut inside a cabinet where the air doesn't move, fix that today: separate the brushes, leave the heads uncovered, and wipe down the holder and the shelf beside the sink once a week with a disinfectant wipe, letting the surface stay wet for the full contact time printed on the label. Then set the three-month reminder and put a spare brush in the drawer. For the pathogen-by-pathogen detail behind guidance like this, including which viruses survive on surfaces and for how long, subscribe to VirusFAQ.com's email updates and keep our cross-contamination explainer bookmarked.
Leave a Reply