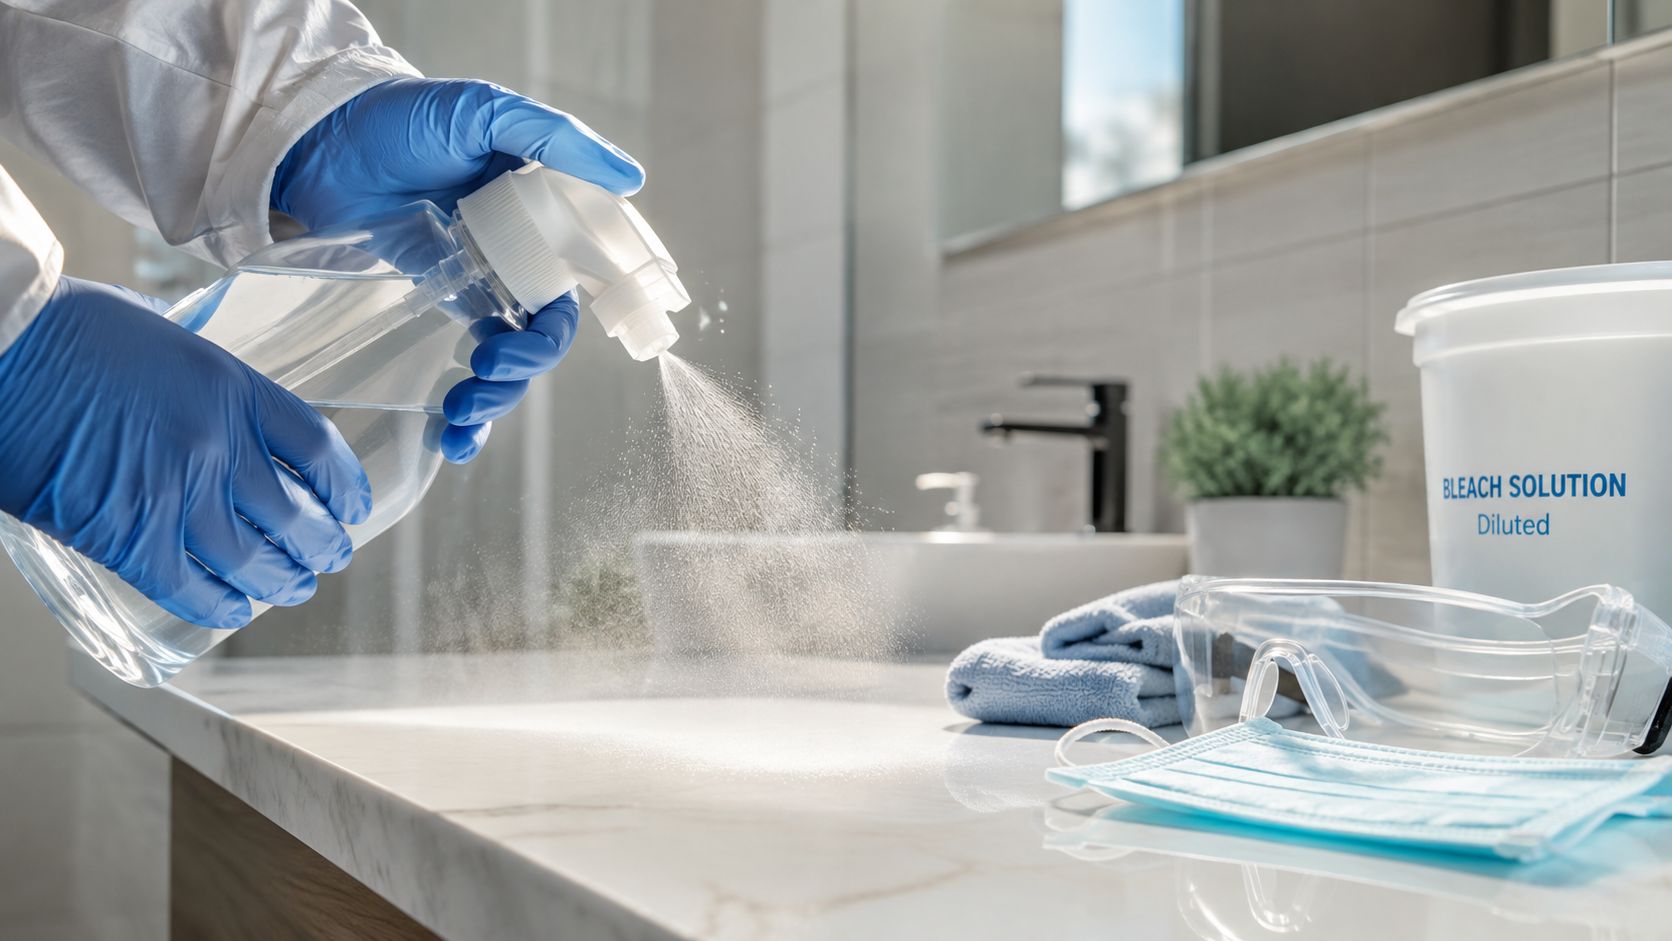
Someone has just vomited in the bathroom, the break room, or beside the sofa. Your first instinct is probably to grab a spray bottle and wipe everything down quickly. That reaction is understandable, but with norovirus, speed without sequence can spread contamination instead of removing it. Effective cleanup depends on containing the area, removing visible soil, applying a product that carries a norovirus claim, keeping surfaces wet for the required time, and handling waste, laundry, and hands correctly.
This guide explains how to disinfect norovirus in a home or facility setting, including the practical trade-offs between bleach and EPA-registered products. The central rule is simple: clean first, disinfect second, and never treat a surface as safe merely because it looks dry.
When Someone Gets Sick and Why Disinfection Order Matters
A family member vomits beside the toilet. Someone reaches for a disinfectant-soaked cloth, wipes the floor, then carries the same cloth to the door handle. That feels productive, but it can move contamination from the original site to every surface the cloth touches. The safer response is to restrict access, put on protective equipment, remove the material with disposable towels, and only then disinfect.
Norovirus is highly contagious, and environmental contamination makes surface decontamination a central control measure. Vomiting can create droplets that land beyond the obvious pool, so the cleanup area often includes nearby floors, walls, fixtures, handles, and other touchpoints. For background on the routes that move norovirus between people and surfaces, see this detailed guide to how norovirus is transmitted.
The four-part cleanup chain
Use this order:
- Contain: Keep people and pets away from the affected area. Open ventilation where practical, but don't create airflow that spreads droplets into occupied rooms.
- Pre-clean: Remove vomit, stool, toilet paper, and other organic material with paper towels. Put contaminated waste into a sealed bag, then place that bag into a second heavy-duty bag.
- Disinfect: Apply a chlorine solution or an EPA-registered product with a norovirus claim. The surface must remain visibly wet for the product's full contact time.
- Verify: Check the product label, dilution, registration information, and coverage. Confirm that high-touch areas, bathroom fixtures, and the original contamination site weren't missed.
The pre-cleaning step is not cosmetic. Organic material can interfere with disinfectant performance, especially when the product is applied over visible vomit or stool. Wiping a dirty surface with disinfectant doesn't guarantee that the required concentration reaches the surface underneath.
Practical rule: Treat the contaminated area as larger than the visible mess, and work from cleaner surfaces toward dirtier, higher-risk surfaces.
The CDC backbone is a two-step protocol: first remove organic soil, then apply an appropriate disinfectant and maintain the required wet time. If a household cleanup feels too large to manage safely, professional residential cleaning packages can help with the broader cleaning workload, but the same sequence still matters.
Gearing Up Before You Touch Anything
Put all equipment beside the entrance before you begin. Searching for supplies halfway through cleanup encourages shortcuts, especially reusing gloves or carrying contaminated materials through clean rooms.
Protective equipment
- Disposable nitrile gloves: Nitrile provides a practical disposable barrier for cleanup. Use a fresh pair for the task, and replace gloves if they tear, become visibly soiled, or you move from the contaminated area to clean work.
- A surgical mask or N95 respirator: A mask can reduce exposure to droplets during the initial vomit event. It shouldn't replace ventilation, distance, or careful handling.
- Eye protection or a face shield: Splashes can reach the eyes during removal of vomit or stool. Wear protection before bending over the contaminated site, not after exposure has already occurred.
- Protective clothing: Use clothing that can be washed promptly, or a disposable gown or apron if the setting has one available.
Cleaning equipment
Use paper towels rather than a household sponge or ordinary cloth rag. Paper towels can be folded around contaminated material, discarded immediately, and replaced without creating a reusable reservoir. A sponge can retain organic matter and spread it during later use.
Prepare a dedicated bucket for dilution, measuring equipment, the chosen disinfectant, and heavy-duty trash bags. Double-bag contaminated towels, disposable protective clothing, and other waste before removing it from the room.
A color-coded microfiber system can help facilities separate bathroom cloths from kitchen or common-area cloths. Don't carry one cloth from the toilet to the doorknob, and don't assume laundering makes a cloth safe while it's still sitting in the cleaning cart.
The final piece of protective equipment is hand hygiene. Wash hands with soap and water after removing gloves and after cleanup. Alcohol gel isn't a substitute for handwashing in a norovirus response.
The Cleaning First, Disinfecting Second Sequence
Norovirus cleanup starts with physical removal. Put on PPE, restrict access, and use paper towels to collect vomit or stool. Work slowly from the outer edge toward the center so you don't drag contamination across a larger area.
Place used towels directly into a lined container or heavy-duty bag. Seal the bag, then double-bag it before disposal. Don't shake towels, sweep contaminated debris dry, or wring out a cloth over a sink.
Dilution matters
For hard, nonporous surfaces, CDC guidance recommends sodium hypochlorite at 1,000 to 5,000 ppm, followed by a wet contact time of at least 5 minutes. The CDC describes this range as roughly 5 to 25 tablespoons of household bleach per gallon of water. The exact amount depends on the bleach formulation, so check the bottle rather than assuming every product has the same strength. See the CDC norovirus prevention guidance for the cleaning and disinfection sequence.
The figures below are practical reference points from the supplied guidance. They aren't a substitute for the product label or the bleach manufacturer's instructions.
| Target Concentration | Use Case | Bleach per Gallon of Water | Bleach per Liter of Water |
|---|---|---|---|
| 1,000 ppm | Hard, nonporous surfaces with lower contamination | About 5 tablespoons | About 5 ml |
| 5,000 ppm | Vomit, stool, or heavily contaminated hard surfaces | About 25 tablespoons | About 25 ml |
The supplied CDC guidance expresses the range as roughly 5 to 25 tablespoons per gallon, or about 5 to 25 ml per liter. Because household bleach products vary, verify the percentage of sodium hypochlorite printed on the bottle before mixing. Don't combine bleach with ammonia, acids, or other cleaners, since dangerous fumes can result.
Prepare bleach carefully and use it as directed. CDC guidance notes that bleach should be freshly prepared for use within 24 hours unless the concentration has been adjusted for storage. Apply enough solution to keep the cleaned surface visibly wet for the full required period.
Pre-cleaning also protects the disinfectant from dilution by organic soil. Once visible material is gone, apply the solution to the floor, fixture, handle, or other hard surface, maintain wetness, then follow the label's rinsing or ventilation directions. If you're using a commercial product rather than bleach, its label controls the dilution and contact time.
Choosing Between Bleach and EPA List G Products
The practical buying question is whether to use household bleach or a commercial product. Bleach is familiar and widely available, but it demands accurate preparation, ventilation, surface compatibility checks, and close attention to wet contact time. An EPA-registered product can be easier to deploy, but only if its label supports norovirus use.
EPA List G identifies antimicrobial products registered as effective against norovirus. Products may be tested against human norovirus or an appropriate surrogate, and the list is organized by product name and EPA registration number. Check the registration number on the container against the EPA List G product list, then read the label for the organism claim and contact time.
Some hydrogen-peroxide-based formulations in the supplied EPA product data achieved more than 5.1 log reduction against feline calicivirus, a norovirus surrogate, in 5 minutes. Another surrogate result reported more than 3.1 log reduction for Tulane virus in 5 minutes. Those results belong to specific registered formulations and test conditions, so they shouldn't be generalized to every hydrogen-peroxide cleaner.
The real trade-off
| Factor | Chlorine Bleach (1,000 to 5,000 ppm) | EPA List G Product |
|---|---|---|
| Availability | Often already present in homes and facilities | Must be selected and purchased |
| Preparation | Requires accurate dilution and fresh solution | Often ready to use, depending on label |
| Surface compatibility | Can corrode metals, damage finishes, and discolor fabrics | Varies by formulation and surface label |
| Ventilation | Fumes can be unpleasant or hazardous in enclosed spaces | Depends on the active ingredient |
| Verification | Concentration and contact time must be controlled | Registration number, claim, dilution, and contact time must be checked |
| Cost and convenience | Usually inexpensive, but labor-intensive to manage correctly | May cost more, with simpler application |
Bleach is a sensible choice for compatible hard, nonporous surfaces when you can measure it correctly and ventilate the area. An EPA List G product may fit better when the material is color-sensitive, when corrosion is a concern, or when a ready-to-use format improves staff compliance. Products marketed as wipes can also be useful for small, already-cleaned high-touch surfaces, but the label must carry the appropriate norovirus claim and the surface must stay wet for the stated time. VirusFAQ.com publishes related educational material on bleach for disinfection.
Decision rule: Choose bleach for compatible hard surfaces when preparation is controlled. Choose an EPA List G product when the label, material, ventilation, and workflow make it safer or more reliable.
Contact Times, Surface Order, and the Mistakes That Undo the Work
A disinfectant only works while the treated surface stays wet for the label's contact time. If you spray and immediately wipe, you may remove the product before it has had time to inactivate the virus. The clock starts when the surface is fully covered, not when the bottle leaves the storage cupboard.
CDC guidance requires a minimum wet time of 5 minutes for the hard-surface norovirus procedure described above. Product labels can specify different times, so follow the exact instructions for the formulation in your hand. If the surface dries early, reapply enough product to restore visible wetness and complete the remaining time.

Cleanest to dirtiest
Sequence protects work you've already completed:
- Walls and windows: Start with lower-risk surfaces that are near, but not directly within, the contamination zone.
- Counters and tables: Move to work surfaces and other shared contact areas.
- Handles and controls: Include doors, faucet knobs, light switches, and appliance controls.
- Toilets and bathroom fixtures: Finish with the highest-risk fixtures.
- Vomitus or fecal sites: Leave the original contamination site until the end, after visible material has been removed.
Use fresh disposable towels or properly segregated cloths as you move through the room. Never use the same glove or cloth on the toilet and then on a doorknob. Information on environmental persistence should be interpreted alongside this guide to how long norovirus lives on surfaces.
The shortcuts are predictable. Staff spray over visible soil, wipe before the contact time ends, dilute bleach by eye, reuse a household sponge, or mix products in the hope of making a stronger cleaner. None of those actions improves the protocol, and some create new hazards.
Never mix bleach with ammonia or another cleaner. Keep reusable cloths out of service until they're laundered according to facility procedure, and replace any product that has dried before the required wet time is complete.
Laundry, Soft Surfaces, Dishes, and Bathrooms
Hard floors and fixtures get most of the attention, but textiles and objects often carry contamination out of the original room. Handle soiled laundry with gloves, don't shake it, and move it directly into a bag or washer. Use the hottest appropriate wash cycle, detergent, and chlorine bleach only when the fabric label permits it.

Carpets and upholstered furniture can't usually receive household bleach safely. Remove visible material carefully, then use steam cleaning or an EPA List G product only where the product label allows that surface. Steam treatment should reach 158°F for at least 5 minutes when that method is selected, as specified in the supplied guidance. For specialized water or carpet cleanup after a spill, water removal safety tips can help with the broader moisture-control risks.
Items people forget
- Dishes and utensils: Use a dishwasher's hottest appropriate cycle and final rinse. For handwashing, use a separate basin and a separate sponge from those used for general kitchen cleaning.
- Bathroom touchpoints: Disinfect the toilet seat, flush handle, lid, faucet knobs, door handle, shower controls, and nearby switches with a compatible bleach solution or List G product.
- Bedding and clothing: Wash contaminated items separately when practical, using detergent and a fabric-safe disinfecting option.
- Toothbrushes: Discard toothbrushes used during illness rather than trying to disinfect them in the bathroom.
Fabric softener sheets should be skipped where they could leave residue on dryer surfaces or interfere with later disinfection. The safest approach is to keep contaminated textiles contained, avoid shaking them, and complete washing before returning them to shared spaces.
Outbreak-Grade Cleaning and Your 72-Hour Action Plan
A single household incident needs careful cleaning. A facility outbreak needs repeatable operations, assigned responsibility, and documented follow-through. In healthcare settings, CDC guidance recommends increasing cleaning frequency during outbreaks, including twice-daily ward or unit cleaning and three-times-daily disinfection of frequently touched surfaces with EPA-approved products. The exact plan should match the facility's infection-control policy and local public-health direction.
Use dedicated equipment for rooms occupied by ill residents or staff. Keep restroom assignments separate where possible, maintain a line list of symptomatic staff or residents, and prevent symptomatic people from preparing food or returning to communal areas until they have been symptom-free for 48 hours, consistent with the supplied public-health guidance. Daycare centers, nursing homes, and cruise-ship-style environments need especially strict separation because people share bathrooms, dining areas, equipment, and sleeping spaces.

The operating checklist
- Immediate response: Isolate vomiting sites, remove visible soil, disinfect hard surfaces, and double-bag contaminated waste.
- First day: Start enhanced cleaning of high-touch areas, assign dedicated equipment to affected rooms, and record new symptomatic cases.
- Second day: Maintain the schedule, inspect bathrooms and shared touchpoints, and update the line list.
- Following days: Continue enhanced measures through the facility's required symptom-free period, complete a final deep clean, and process contaminated laundry.
- Escalation: Contact the local health department when cases cluster in a facility, illness continues despite controls, or the setting includes medically vulnerable residents.
A facility shouldn't declare the response finished merely because vomiting has stopped. The CDC's healthcare guidance supports increased cleaning frequency during outbreaks, and every product must remain on its approved dilution and contact-time schedule. If you're managing a communal setting, document who cleaned, which product was used, whether the surface stayed wet, and which high-risk areas were completed.
If someone is sick now, restrict access to the contaminated room, gather nitrile gloves, eye protection, paper towels, bags, and a verified bleach or EPA List G product, then follow the clean-first, disinfect-second sequence. For a facility response, assign responsibilities and begin a written cleaning log today. When the mess is beyond safe household handling, contact a qualified cleaning service and your local health department rather than relying on repeated surface wiping.
Leave a Reply